The blackboard is an old item in our lives, we find it in our childhood in the school and we are not aware that is was one of the most revolutionary inventions in the educational field, since the teacher boosted his communication capacity by writing or drawing the concepts widely in front of his audience. Also, the pupils could associate them better since the information remained in the blackboard the whole class long.
The blackboard is such a versatile, cheap and easy to use tool to enable mass communication that has spread out of the classrooms to become a visual mass communication media and lettering in bars and coffee shops. Wherever the content to be communicated is changeable and must be visible for the biggest number of visitors, this type of support is a good partner. Also, thanks to the felt-tip pens you will be able to enjoy of all the benefits of this economic form of lettering and avoid the problems associated to the traditional chalk.

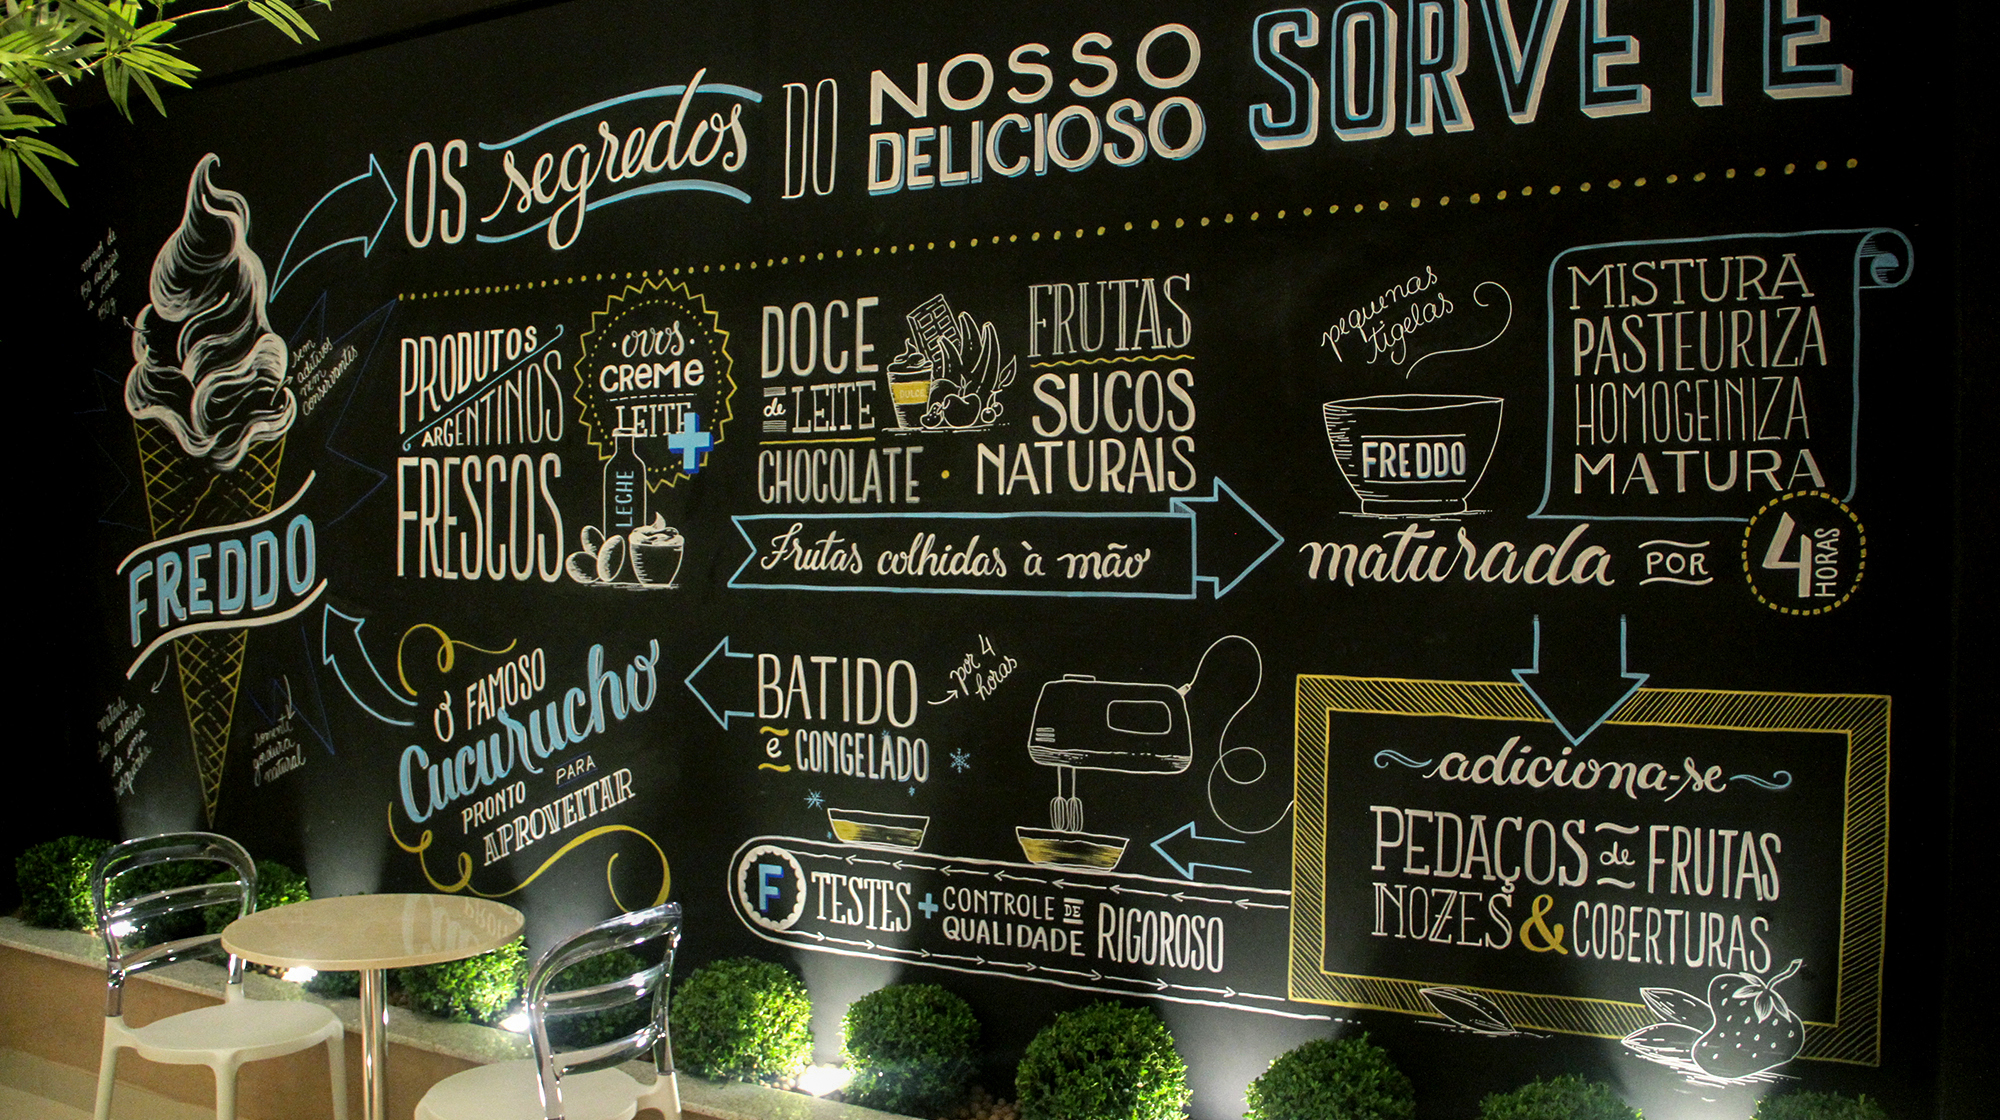
There are artists who have specialized in the blackboard art and provide the places of a proper personality.
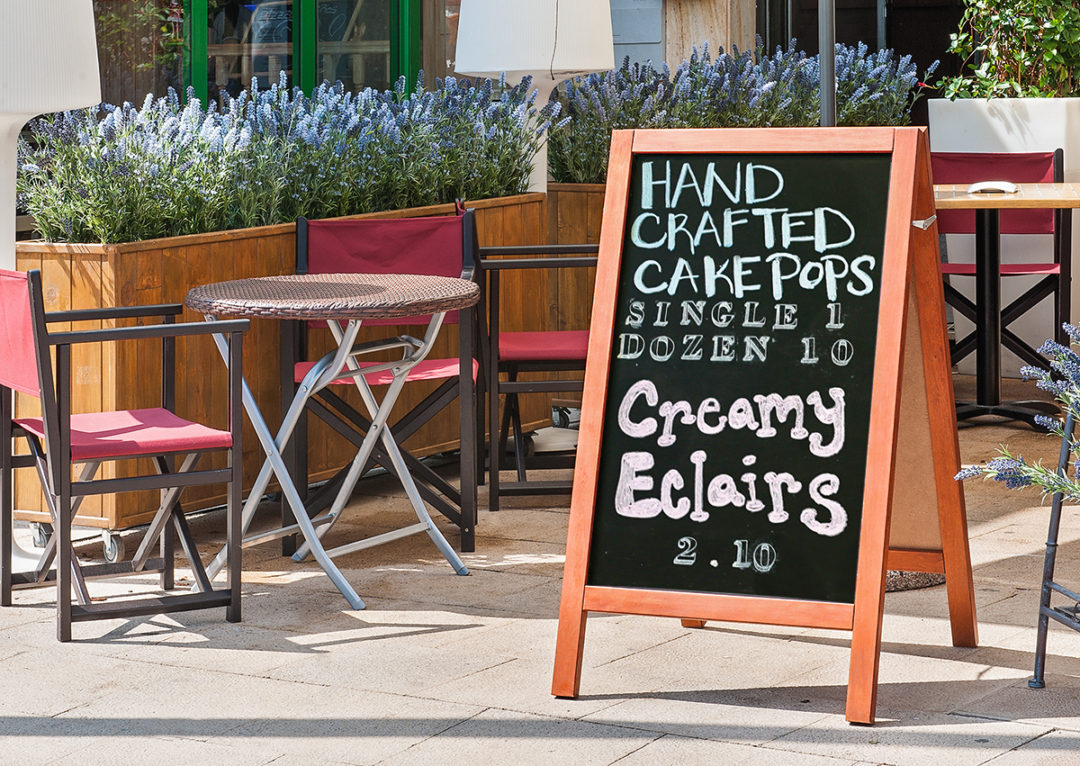
The blackboards in angle suitable for outdoor places (80×115) offer just the space to write the menu of the day. Nevertheless, it is inside the business where it is possible to give free rein to the creativity and to make use of the walls to turn them into communication panels.
The wall blackboards can be hung vertical or oblong. If you have the most elongated size you will have more space to connect with your clients with drawings and messages consistent with your brand.
Today we bring you a guide to make your own amazing designs.
How to make a perfect design
Material you will need:
·Felt-tip pens for blackboards
·Any wet piece of cloth. Avoid wet wipes!
·Cotton sticks
·Sheet of paper
·(Optional) traditional chalk
Advices:
- Mark a point in the center of the blackboard with traditional chalk that gives you a reference to center the design (you can erase it later).
- Optionally, you can draw a guideline with chalk so at least the titles remain centered and aligned (you can erase later the lines that you don’t want).
- Begin the design from the edges to the center. This way you will avoid lacking of space to finish the texts or drawings.
- If you think that your letter is not legible or want a special typography, there are many websites like dafont.com where you can download in your computer the typography that you like.
- Do the design of your message, titles or drawings in your computer. Print it on a sheet of quite thick paper.
- Make a template cutting away the inner part of the letters or drawings (empty them).
- Use the template to do the lettering in the blackboard with felt-tip pens.
- Clean up the lines that you don’t want or any stains with wet cotton sticks.
Are you in? Would you show us your piece of art? Please share a photo in our facebook!